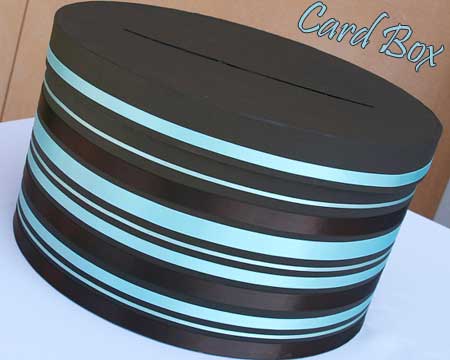
Lets face it, some of the card boxes that are sold at the wedding stores are not very stylish. They often do not even go with the decor of your wedding. That’s why I was so excited when I found this tutorial at Maida Vale. This is a simple and modern way to create the card box you really want.
Supplies
- Paper box
- Purchase one large paper mache box from a local craft store.
- Varying widths of double-face satin ribbon
- For added interest, choose a combination of colors that complement your wedding palette.
- Paint
- Purchase one small bottle of craft paint in the color of your choice.
- Sponge brush
Directions
- Using a utility blade, carefully cut a slit into the lid of the box. Be sure to make it wide enough to accommodate large greeting cards.
- Paint the box.
- Cut the ribbon into appropriate lengths to fit around the box. Cut ribbon at an angle to avoid any fraying that might occur.
- Using a heavy-duty permanent adhesive (such as a Tombow roller), adhere each ribbon strip to the box. Create variation by alternating wide and narrow widths of ribbon. Be sure to adorn the lid!


